> ## Documentation Index
> Fetch the complete documentation index at: https://docs.condense.io/llms.txt
> Use this file to discover all available pages before exploring further.
# Select an Input Connector
> For the complete documentation index, see . This page is also available as .
Copy
On this page
1. [Fundamentals](/condense/v2.4.0/fundamentals)
2. [Getting Set Up](/condense/v2.4.0/fundamentals/getting-set-up)
To select an input connector, please follow below steps. Choose your recently create workspace. You will be redirected to sources for input connectors.
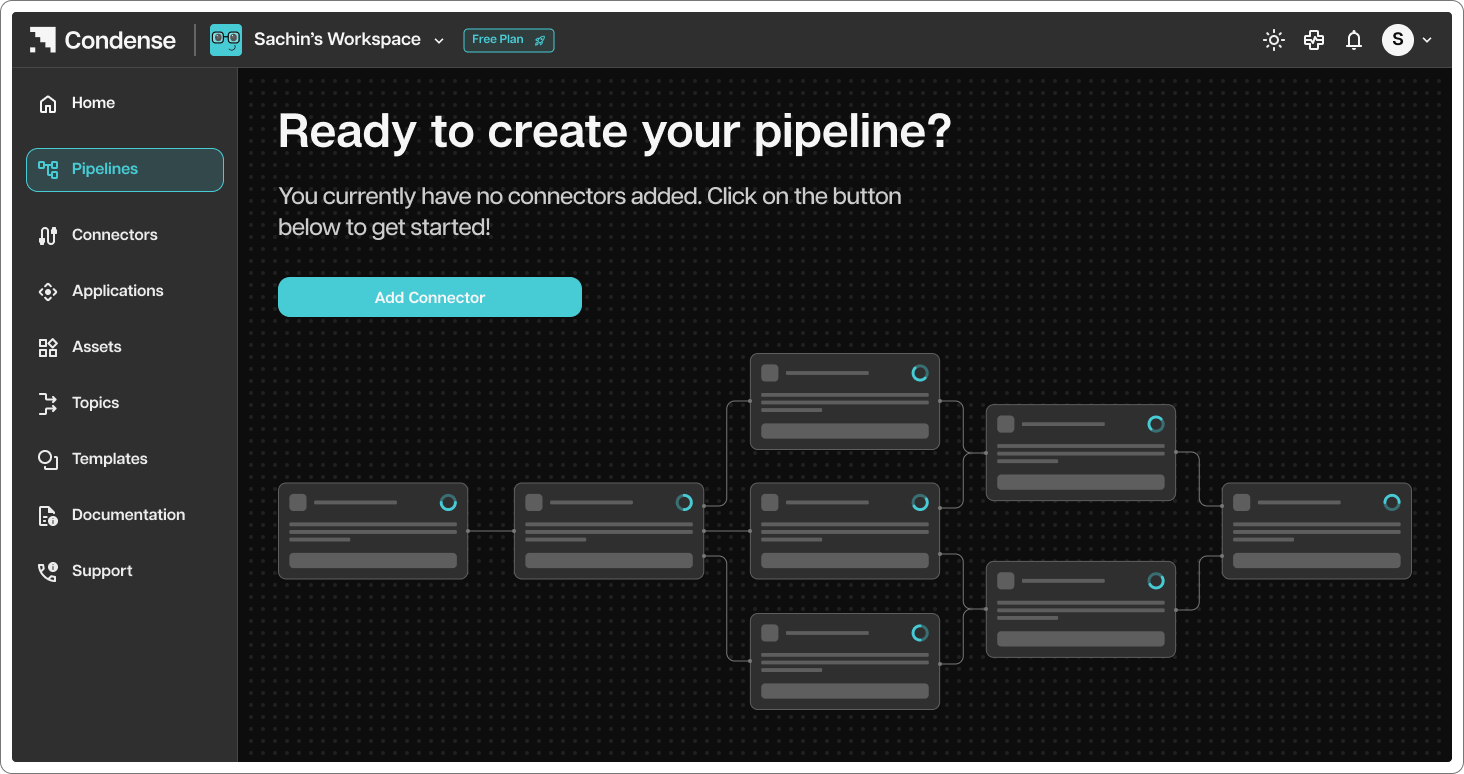 ## You can choose from either of these 2 sources:
1. Telematics Device 2. Connectors
## You can choose from either of these 2 sources:
1. Telematics Device 2. Connectors
 ## 1. Telematics Device
To choose Telematics Device as an input connector, please follow below steps:
A. Select “Telematics Devices” option and click on “Next”
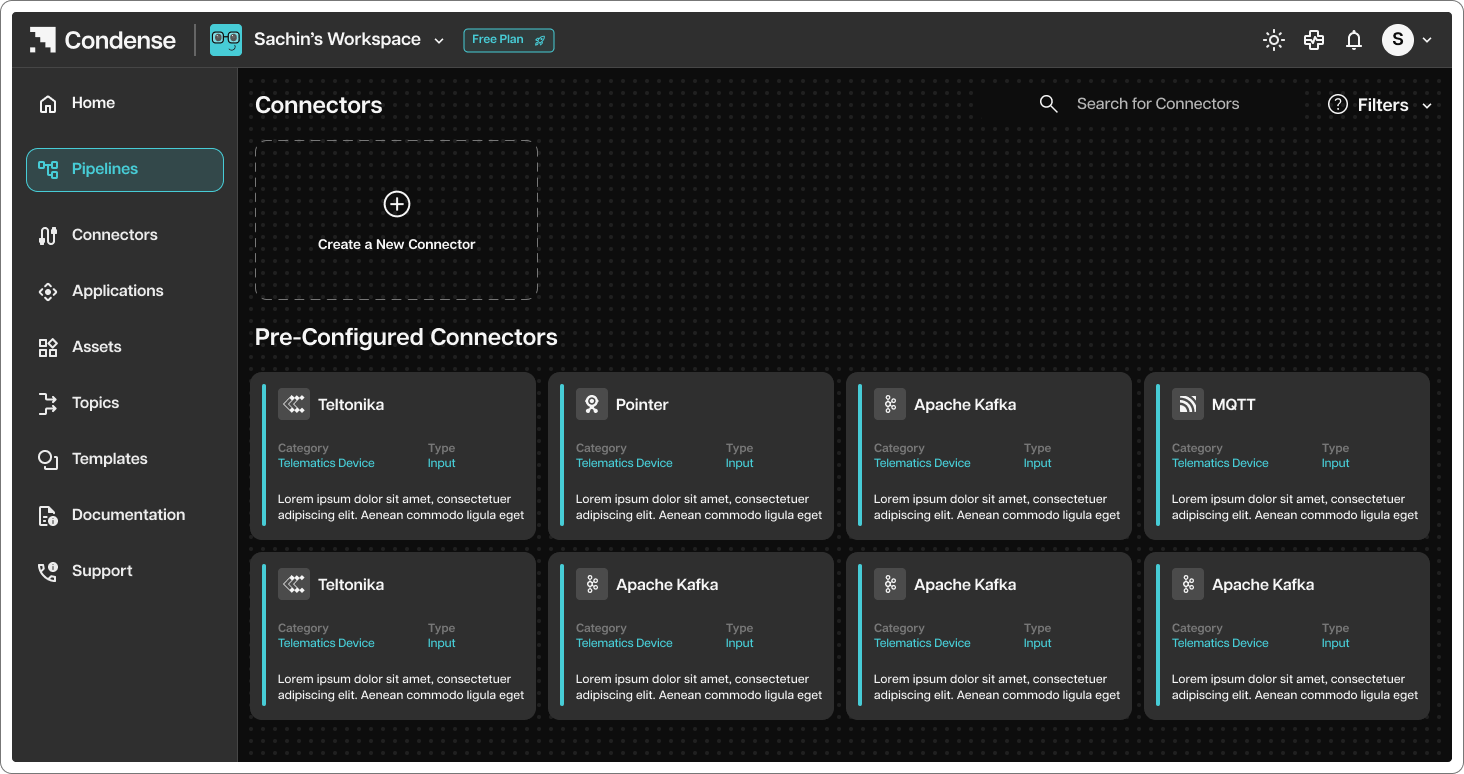
B. You will be redirected to list of Telematics devices to choose from along with search and filter functionality.
C. The list of devices may contain different models and different vendors to choose from as shown in the screenshot below.
## 1. Telematics Device
To choose Telematics Device as an input connector, please follow below steps:
A. Select “Telematics Devices” option and click on “Next”
B. You will be redirected to list of Telematics devices to choose from along with search and filter functionality.
C. The list of devices may contain different models and different vendors to choose from as shown in the screenshot below.
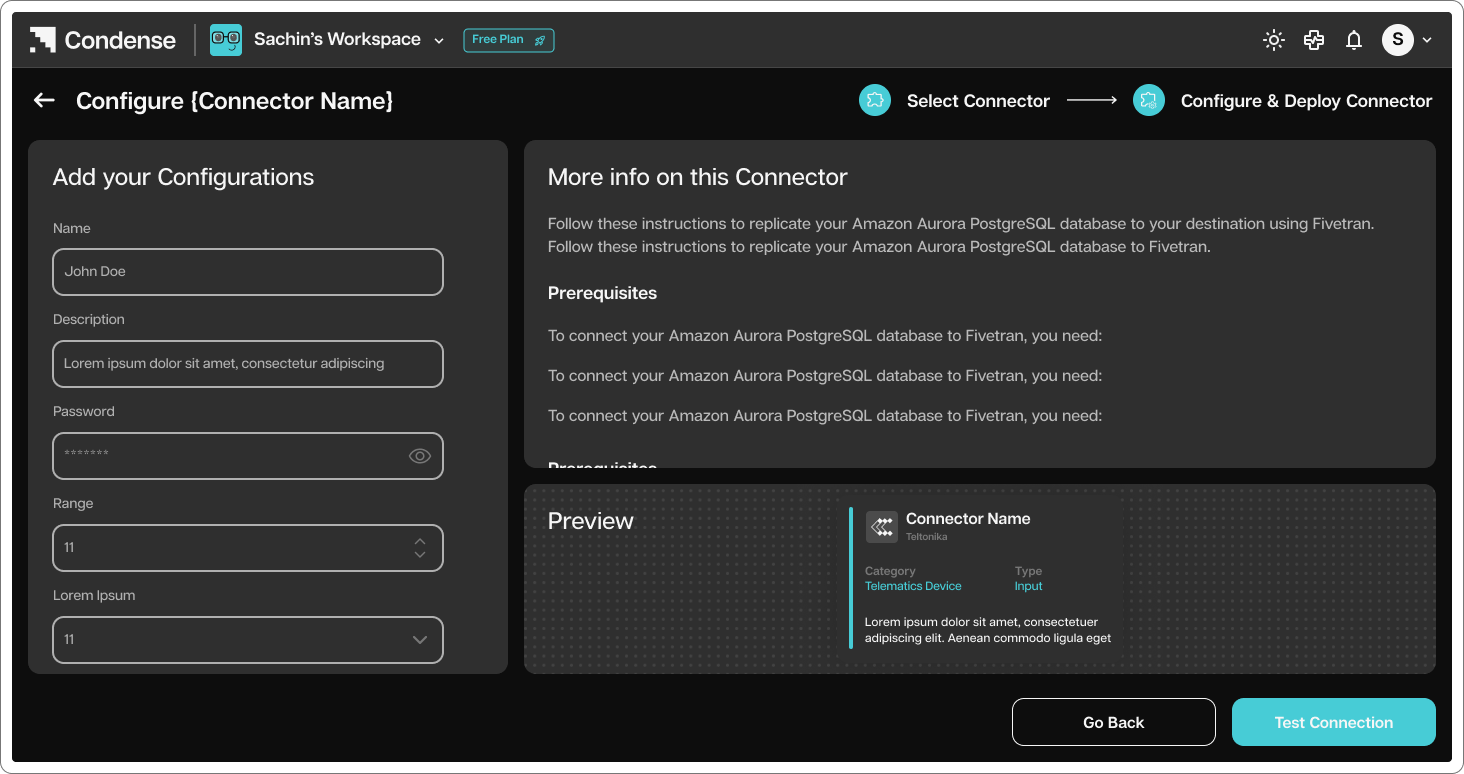
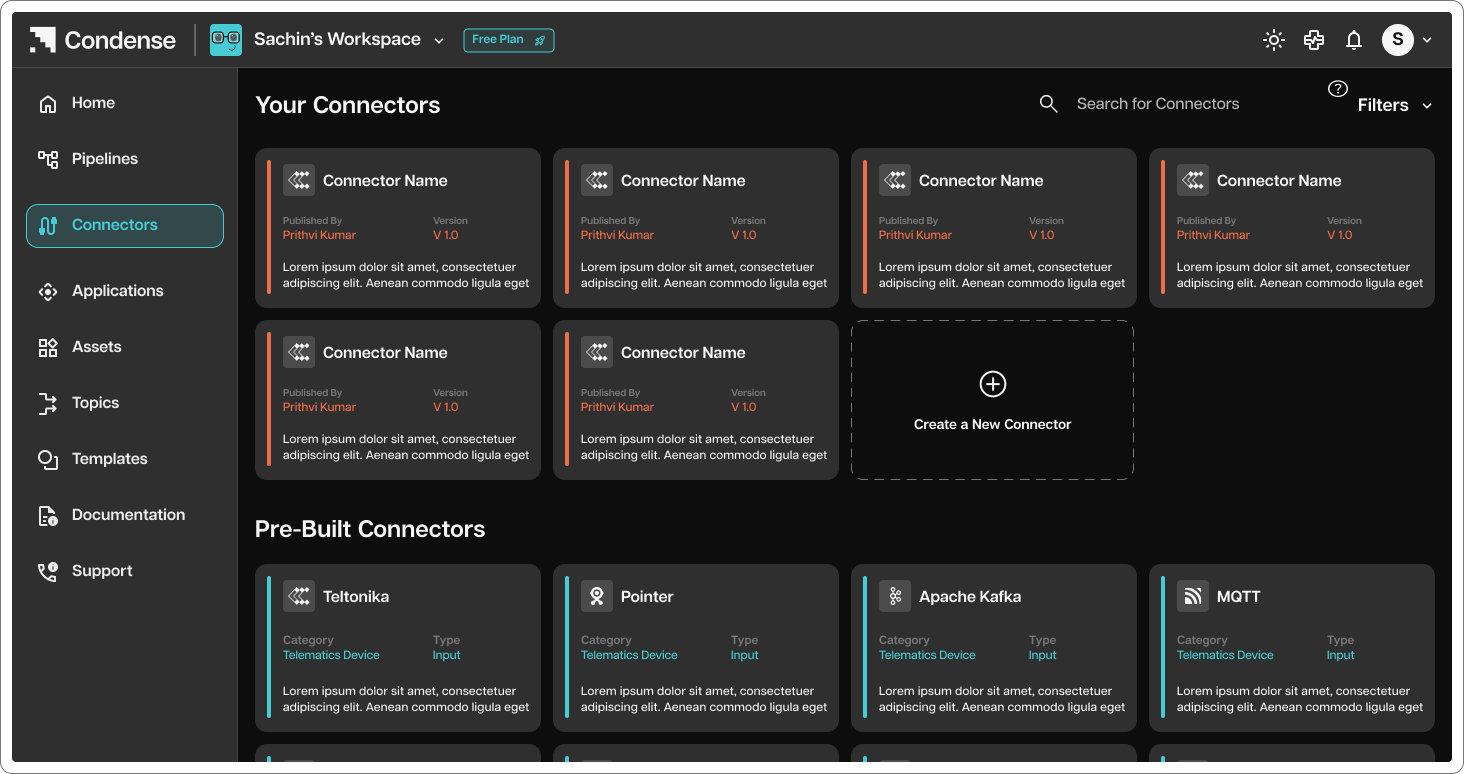 D. Click on “Add to Pipeline” and you will be redirected to “Configure Connector” page where you need to configure the input connector
 E. Once you configure the device, you shall be redirected to the node selection page where you can connect your device / connector to any other connector. As this device is of input data source no selection shall be available and default node is created.
F. Once the default node has been shown with all the configuration requirements you can click on deploy. Thus creating a new input node in your workspace.
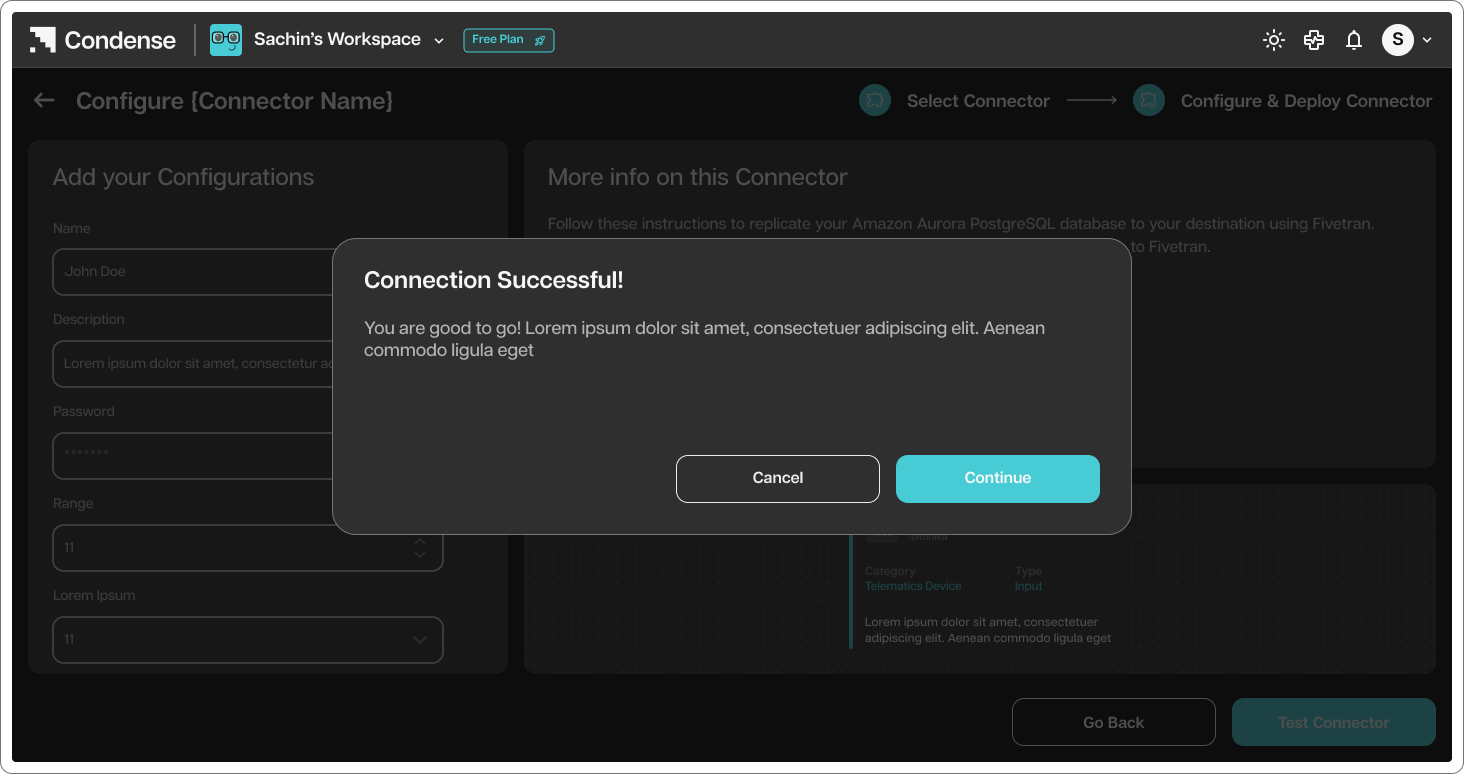
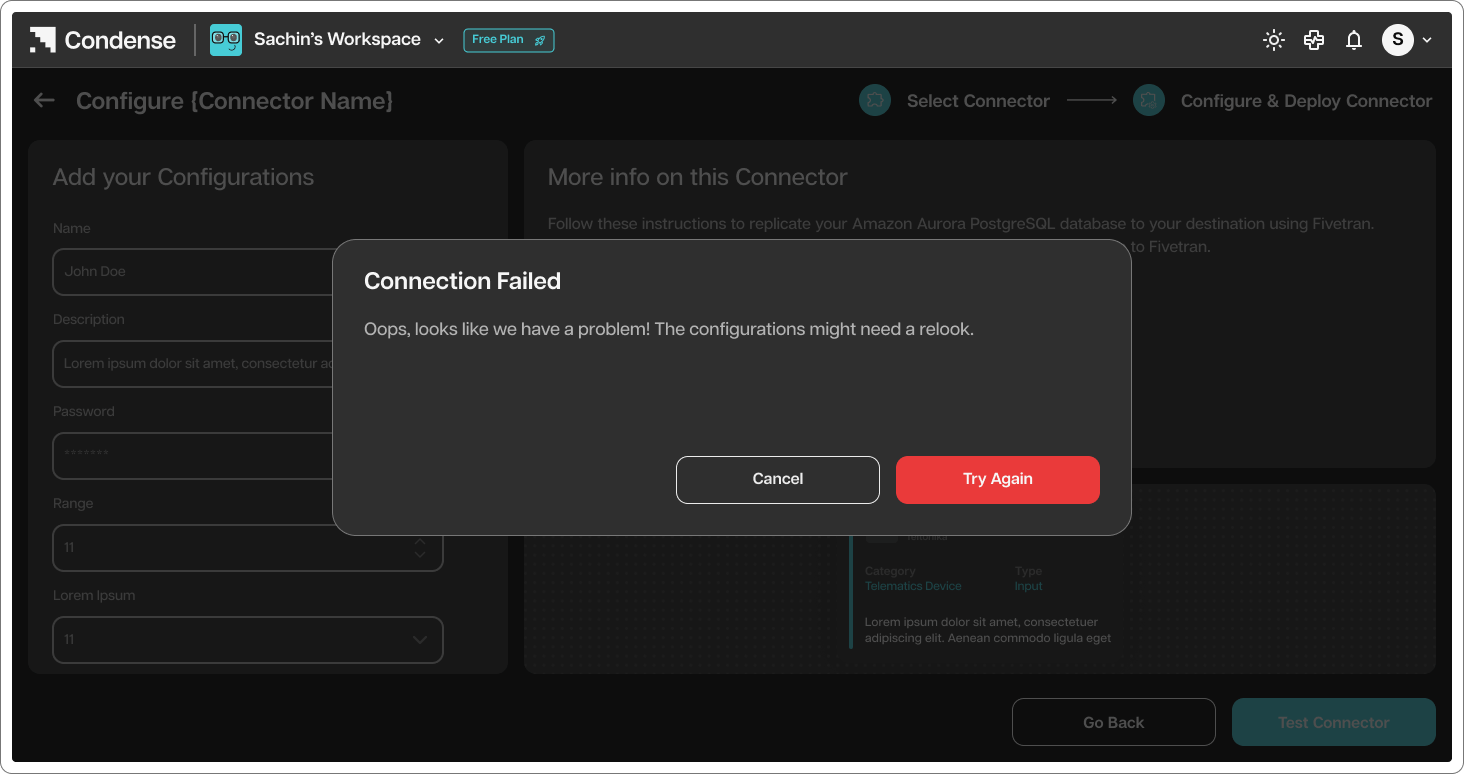
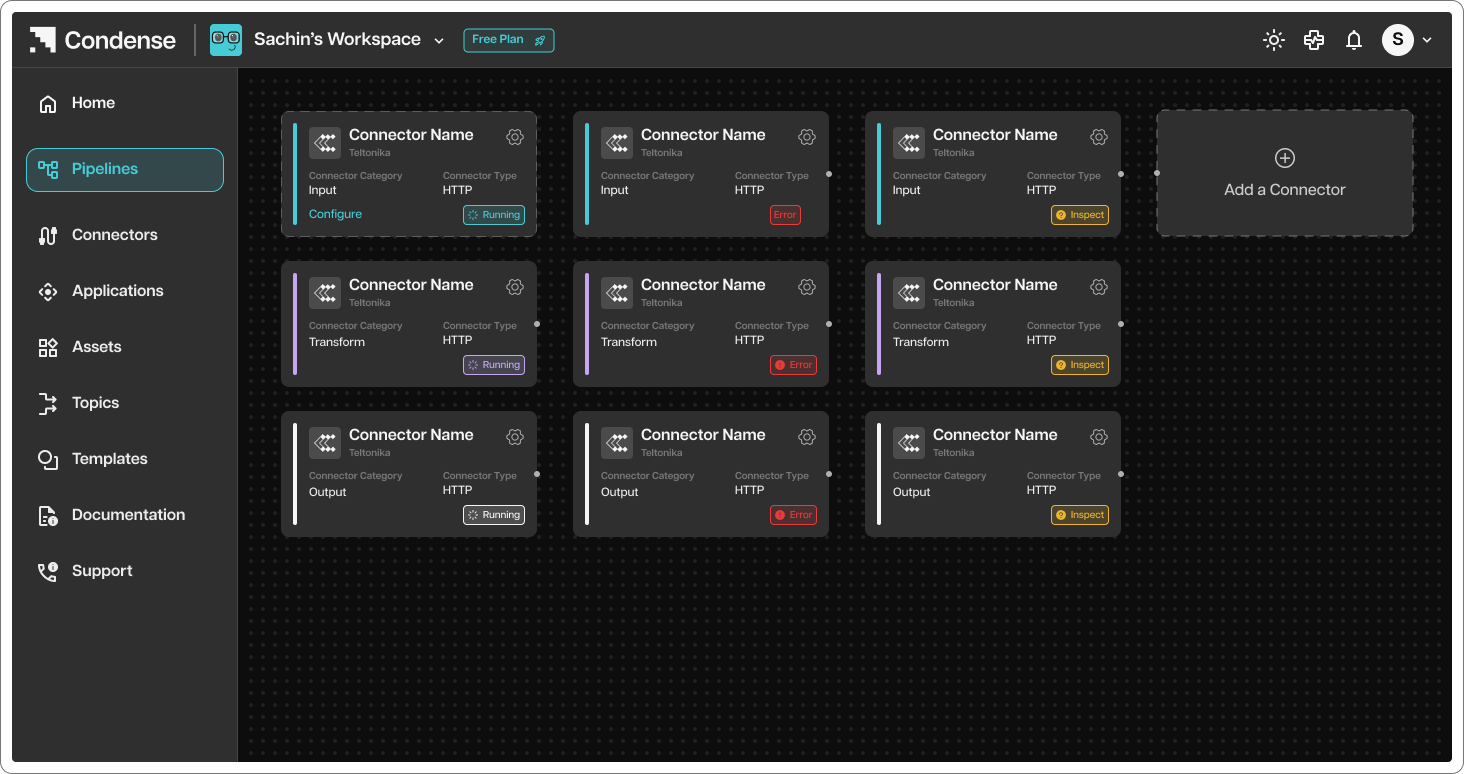
G. To validate the status of your connector, check for the below symbols on your connectors:
E. Once you configure the device, you shall be redirected to the node selection page where you can connect your device / connector to any other connector. As this device is of input data source no selection shall be available and default node is created.
F. Once the default node has been shown with all the configuration requirements you can click on deploy. Thus creating a new input node in your workspace.
G. To validate the status of your connector, check for the below symbols on your connectors:  This symbol signifies that your connector is not successfully deployed
  This symbol signifies that your connector is successfully deployed and running
 ## 2. Connectors as an input connector
To choose Connectors as an input connector, please follow below steps:
A. Select “Connectors” option and click on “Next”
B. You will be redirected to list of Connectors to choose from
## 2. Connectors as an input connector
To choose Connectors as an input connector, please follow below steps:
A. Select “Connectors” option and click on “Next”
B. You will be redirected to list of Connectors to choose from
 C. Click on “Add to Pipeline” and you will be redirected to “Configure Connector” page where you need to configure the input connector
D. Based on type of connector selected, you will have to input details for configuring the connector.
C. Click on “Add to Pipeline” and you will be redirected to “Configure Connector” page where you need to configure the input connector
D. Based on type of connector selected, you will have to input details for configuring the connector.