

- In Condense Core, open Settings. Under Manage, select Broker Registry.
- Select Connect on the broker you want, or Add Broker Connection at the top right. The Add Broker Connection panel opens.
- Step 1, Broker Details: name the connection and tag it. Select Next.
- Step 2, Broker Configurations: choose the broker type, enter its address and how to sign in. See Broker types and authentication.
- Select Test Connection. When the test succeeds, select Save Changes.
Step 1: Broker Details
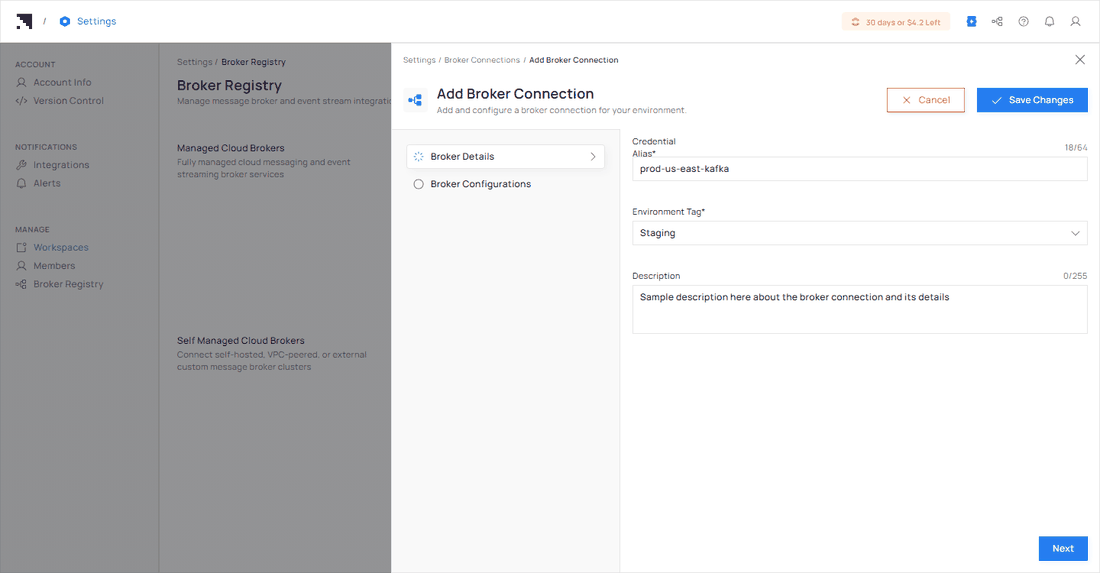
Step 1. The counters show how many characters you have used.
- Credential Alias (required): A name you will recognize, for example
prod-us-east-kafka. 3 to 64 characters. It must be unique among your connections. - Environment Tag (required): Development, Staging or Production. It helps you tell at a glance which connection belongs to which stage.
- Description (optional): A note about the connection, up to 255 characters.
Step 2: Broker Configurations
Choose the Broker Type, enter the Server URL(s), add the Cluster Name / ID if you want one, and pick the Authentication Method. The fields below change with your choice.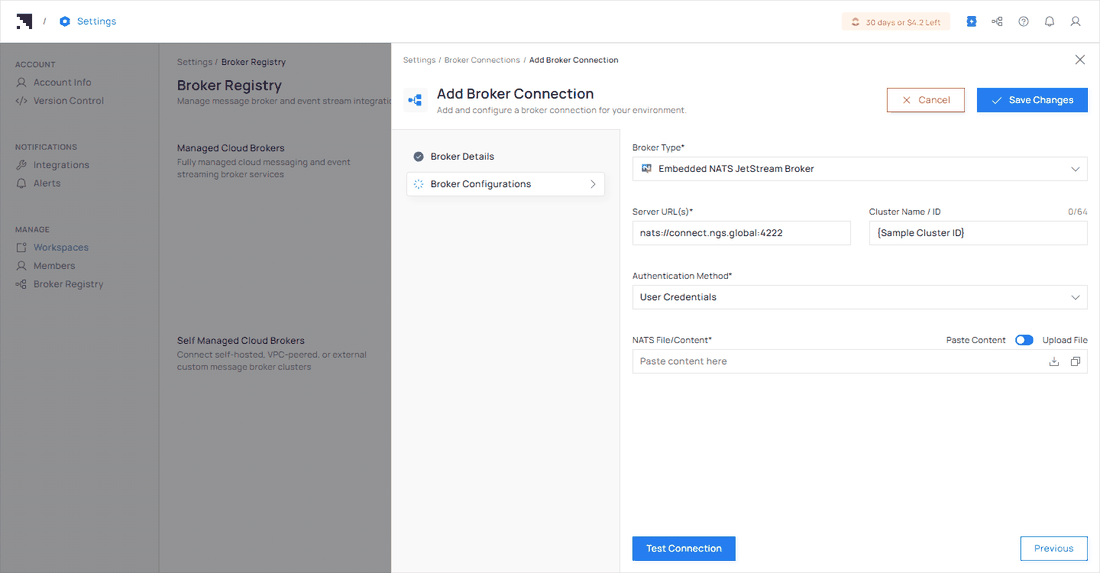
Step 2 for NATS with User Credentials. Paste the content or upload the file.
Save
Condense saves a connection after it has tested successfully. A message confirms that the broker has been configured. The connection now appears on its broker card.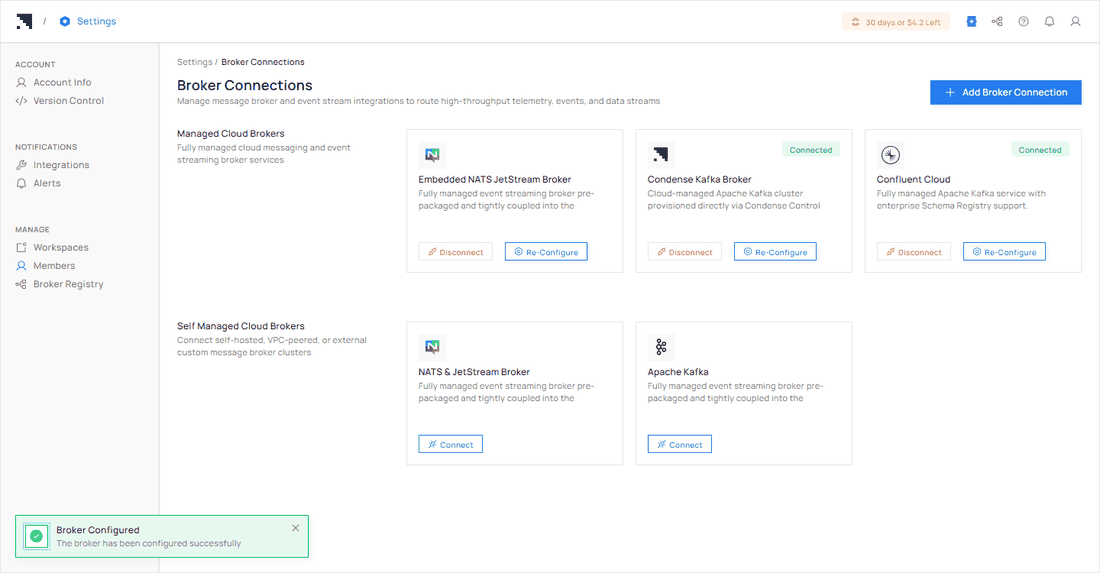
The confirmation after saving, and the connected broker cards.